html이 웹 페이지의 뼈대라고 한다면, CSS는 뼈대를 바탕으로 꾸며주는 것이라고 할 수 있다.
가끔씩 웹 페이지를 방문할 때, 오류가 나면 페이지의 색이 전부 사라지고 글자만 남은 경우를 경험해 본 적 있을 것이다. 그것이 html이다. 즉, 우리가 보게 되는 예쁜 형태의 웹 페이지는 css를 이용해서 만들어준 것이라고 할 수 있다.
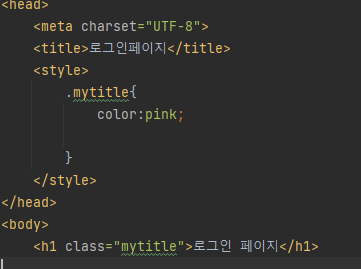
위와 같이 타이틀 아래에
  <style>
        .mytitle{

        }
    </style>
을 추가해주고, h1에 class="my title"를 덧붙여줌으로써 CSS를 사용할 준비를 한 것이다.
*class를 붙여주는 것은 명찰을 달아주는 것과 같다.
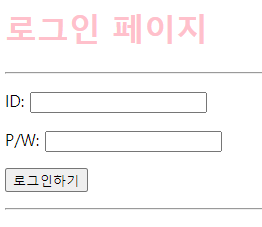
이를 적용해보면 아래와 같이 타이틀 색깔이 분홍색으로 바뀐 것을 확인할 수 있다.
*text-align: 텍스트 위치
background-image:url(""); : 이미지 링크
background-size: cover; : 가져온 이미지를 cover로 넣는다.
background-position:center; : 가져온 이미지의 위치는 중앙정렬
border-radius: 둥근 모서리 지정
margin: 바깥 여백
margin-top: 위쪽으로 여백
margin-left: 왼쪽으로 여백
padding: 안쪽으로 여백
<!DOCTYPE html>
<html lang="en">
<head>
<meta charset="UTF-8">
<title>로그인페이지</title>
<style>
.mytitle{
background-color: lightcoral;
width:300px;
height:200px;
color:antiquewhite;
text-align:center;
background-image:url("https://cdn.pixabay.com/photo/2021/06/27/14/32/raspberry-6368999_960_720.png");
background-size: cover;
background-position:center;
border-radius: 10px;
padding-top: 20px;
}
.wrap{
background-color: azure;
width: 300px;
margin:auto;
}
.mybutten{
width:100px;
margin:auto;
display: block;
}
</style>
</head>
<body>
<div class="wrap">
<div class="mytitle">
<h1 >로그인 페이지</h1>
<h5>아이디, 패스워드를 입력해주세요.</h5>
</div>
<hr>
<p>ID: <input type="text" /></p>
<p>P/W: <input type="text" /></p>
<p>
<button class="mybutten"> 로그인하기 </button></p>
<hr>
</div>
</body>
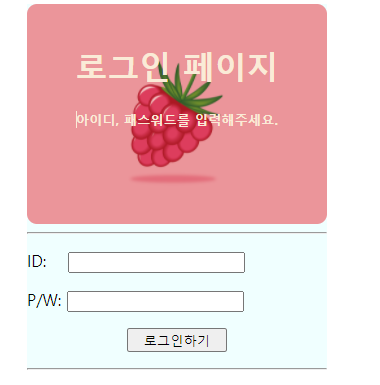
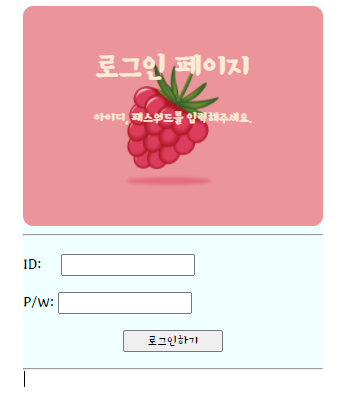
</html>html과 css를 이용해서 로그인 페이지를 꾸며보았다.
이미지는 픽사베이에서 대충 아무거나 구해서 넣었다.
구글 웹 폰트를 적용해보자.
아래 url로 접속해서 마음에 드는 폰트를 고른다.
https://fonts.google.com/?subset=korean
Google Fonts
Making the web more beautiful, fast, and open through great typography
fonts.google.com
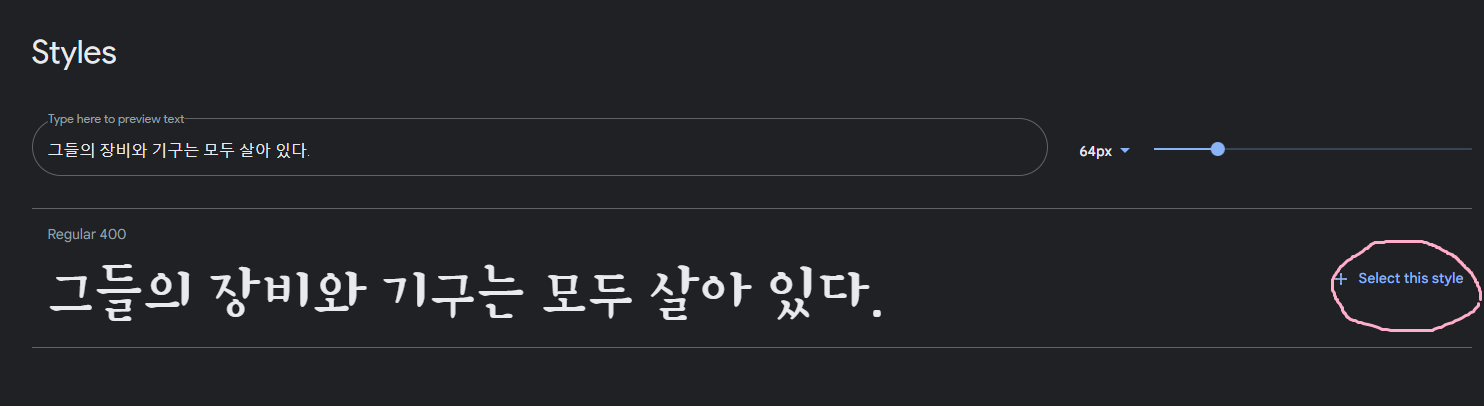
select this style 클릭 후,
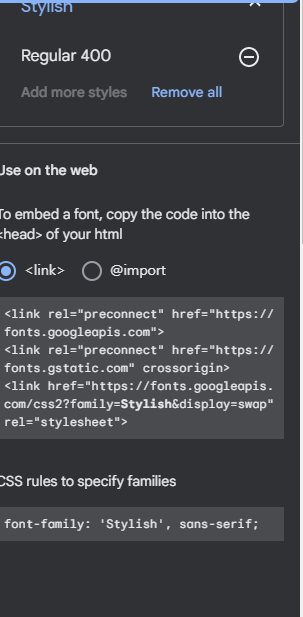
<link>를 복사한다.
다시 프로젝트 창으로 돌아가서, <title> 밑에 붙여 넣는다.

그 밑에서 *{}를 추가해서, 중괄호 안에 CSS rules to specify families를 넣어준다.
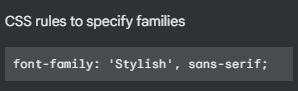
참고로 여기서 *은 모든 태그에 다 적용한다는 뜻이다.
결과
* 주석처리는 Ctrl+/ 를 누르면 자동으로 처리된다.
* CSS는 파일분리가 가능하다. CSS 소스코드 파일을 생성한 뒤에, css <style> 부분만 긁어 붙여 넣어주고,
<link rel="stylesheet" type="text/css" href="mystyle.css">를 </head> 위에 넣어주면 된다.
'웹' 카테고리의 다른 글
| 6. 부트스트랩을 이용해서 상품페이지 틀 만들어보기 (0) | 2021.08.22 |
|---|---|
| 5. 부트스트랩 이용해서 포스팅박스 추가하기 (0) | 2021.08.21 |
| 4. 부트스트랩이용해서 메모(카드) 페이지 만들기 (0) | 2021.08.20 |
| 3. 부트스트랩 (0) | 2021.08.19 |
| 1. html 기초 (0) | 2021.08.17 |


댓글