- 버튼을 누를 때마다 역에 배치된 따릉이 수 나타내기
1. 업데이트 버튼을 누를 때마다 역에 배치되어 있는 따릉이 수를 나타내기
2. GET 방식으로 api 정보를 받아온다.
3. 필요한 부분만 가져온다.
4. 반복문을 이용해서 가져온 정보를 나타낸다.
5. 백틱을 이용해서 가져온 정보를 보여지게 한다.
6. 조건문을 이용해서 현재 남아있는 따릉이 수가 5 미만이면 빨간색으로 나오게 표시한다.
7. style에 color: red를 추가
8. 업데이트 버튼을 누를 때마다 기존의 정보들은 empty()를 이용해 모두 삭제한다.
9. append()를 이용해 정보를 붙여준다.
<!doctype html>
<html lang="ko">

<head>
    <meta charset="UTF-8">
    <title>JQuery 연습하고 가기!</title>
    <!-- JQuery를 import 합니다 -->
    <script src="https://ajax.googleapis.com/ajax/libs/jquery/3.4.1/jquery.min.js"></script>

    <style type="text/css">
        div.question-box {
            margin: 10px 0 20px 0;
        }

        table {
            border: 1px solid;
            border-collapse: collapse;
        }

        td,
        th {
            padding: 10px;
            border: 1px solid;
        }
        .bad{
            color: red;
        }
    </style>

    <script>
        function q1() {
           $('#names-q1').empty();
            $.ajax({
                type: "GET",
                url: "http://spartacodingclub.shop/sparta_api/seoulbike",
                data: {},
                success: function (response) {
                    let rows = response["getStationList"]["row"];
                    for (let i = 0; i < rows.length; i++) {
                        let name = rows[i]['stationName'];
                        let count = rows[i]['rackTotCnt'];
                        let bike=rows[i]['parkingBikeTotCnt'];

                        let temp_html = ''

                        if (bike <5) {
                            temp_html = `<tr class="bad">
                    <td>${name}</td>
                    <td>${count}</td>
                    <td>${bike}</td>
                </tr>`
                        } else {
                            temp_html = ` <tr>
                    <td>${name}</td>
                    <td>${count}</td>
                    <td>${bike}</td>
                </tr>`
                        }

                        $('#names-q1').append(temp_html);
                    }
                }
            })
        }
    </script>

</head>

<body>
    <h1>jQuery + Ajax의 조합을 연습하자!</h1>

    <hr />

    <div class="question-box">
        <h2>2. 서울시 OpenAPI(실시간 따릉이 현황)를 이용하기</h2>
        <p>모든 위치의 따릉이 현황을 보여주세요</p>
        <p>업데이트 버튼을 누를 때마다 지웠다 새로 씌여져야 합니다.</p>
        <button onclick="q1()">업데이트</button>
        <table>
            <thead>
                <tr>
                    <td>거치대 위치</td>
                    <td>거치대 수</td>
                    <td>현재 거치된 따릉이 수</td>
                </tr>
            </thead>
            <tbody id="names-q1">

            </tbody>
        </table>
    </div>
</body>

</html>
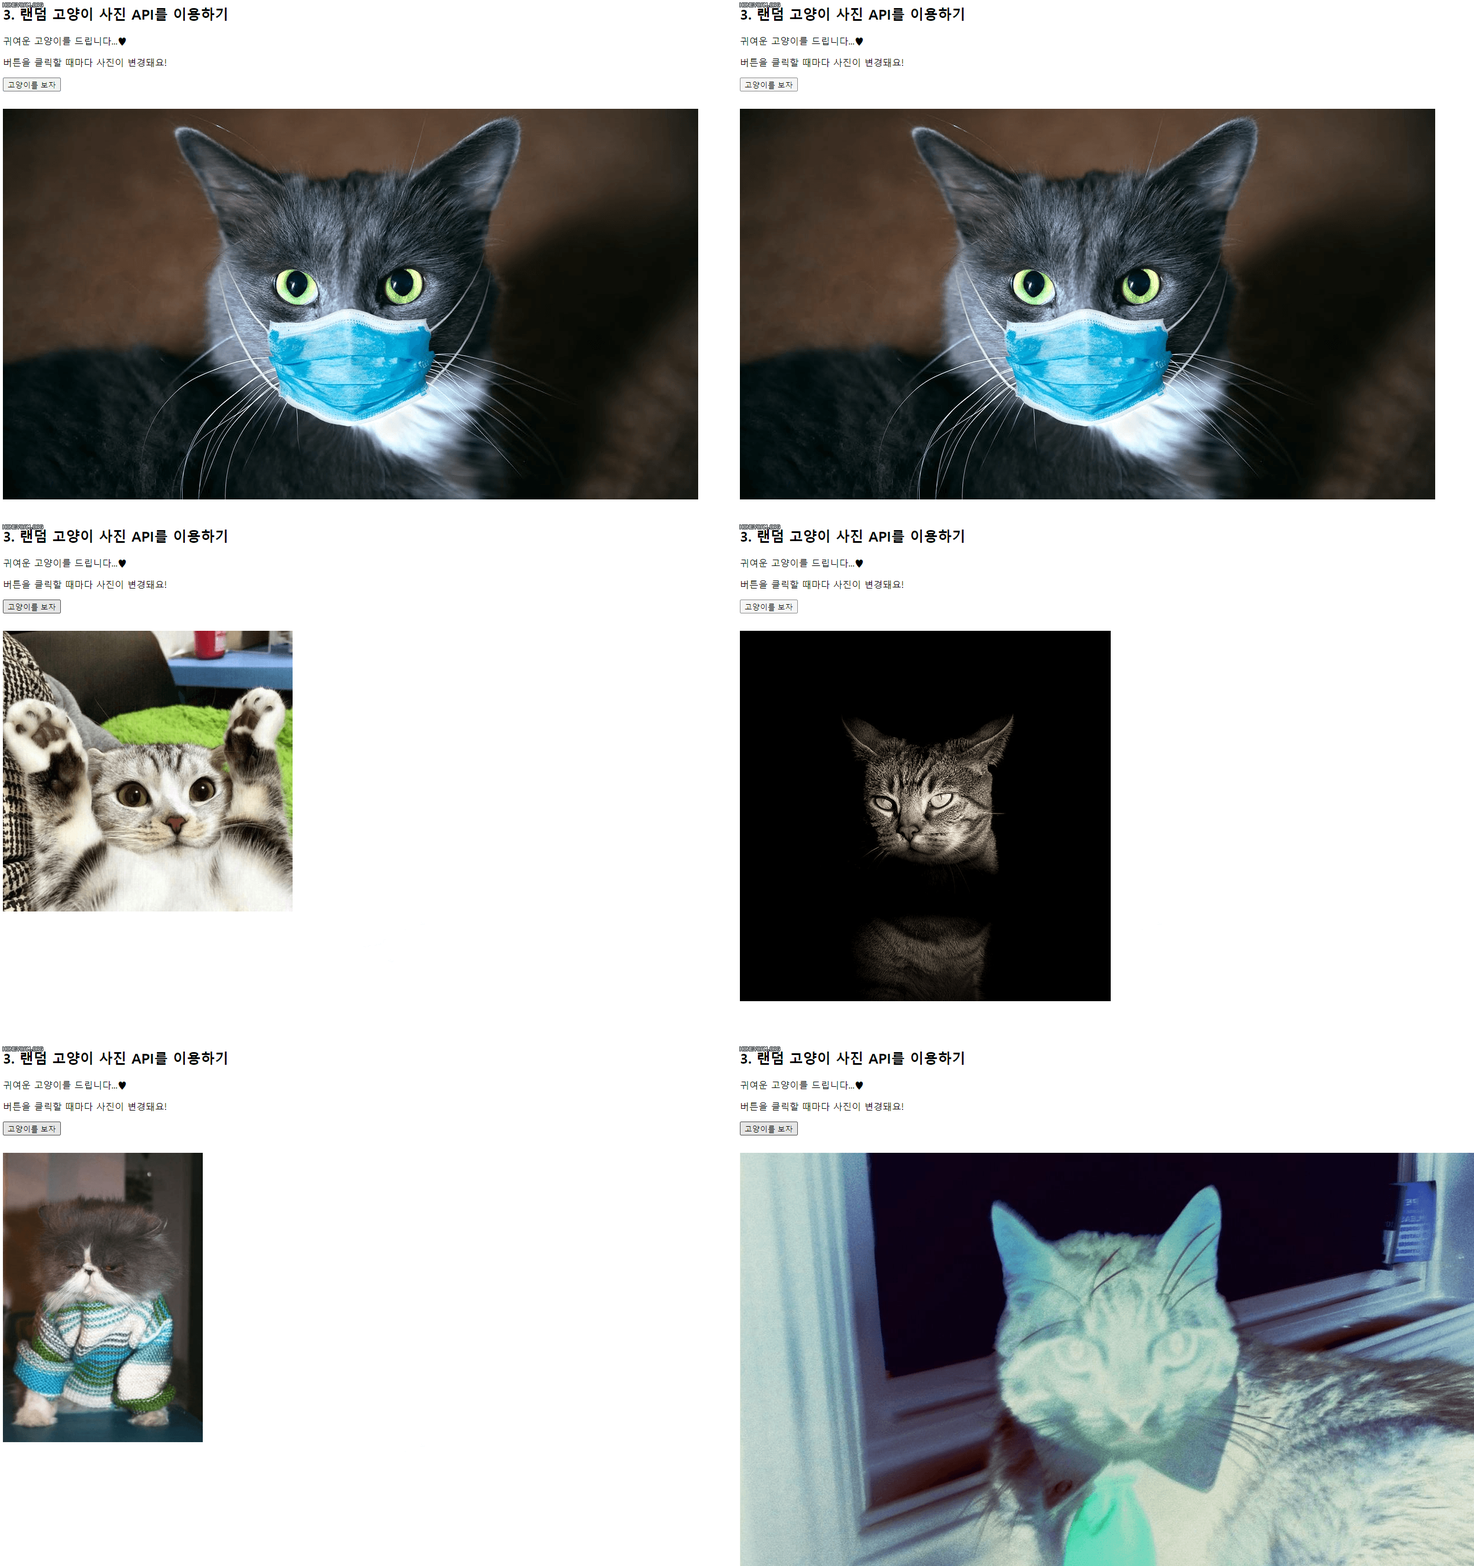
- 버튼을 누를 때마다 고양이 사진이 랜덤하게 나타나게 하기
1. 버튼을 누를 때마다 기존에 있던 사진 empty()를 이용해서 삭제
2. GET 방식으로 api 정보를 받아온다.
3. attr()을 이용해 JQuery 이미지 src를 변경한다.
<!doctype html>
<html lang="ko">
<head>
    <meta charset="UTF-8">
    <title>JQuery 연습하고 가기!</title>
    <!-- JQuery를 import 합니다 -->
    <script src="https://ajax.googleapis.com/ajax/libs/jquery/3.4.1/jquery.min.js"></script>

    <style type="text/css">
        div.question-box {
            margin: 10px 0 20px 0;
        }

        div.question-box > div {
            margin-top: 30px;
        }

    </style>

    <script>
        function q1() {
            $('#img-cat').empty();
            $.ajax({
                type: "GET",
                url: "https://api.thecatapi.com/v1/images/search",
                data: {},
                success: function (response) {
                    let rows = response[0]['url'];

                    $("#img-cat").attr("src", rows);


                }

            })
        }
    </script>

</head>
<body>
<h1>JQuery+Ajax의 조합을 연습하자!</h1>

<hr/>

<div class="question-box">
    <h2>3. 랜덤 고양이 사진 API를 이용하기</h2>
    <p>예쁜 고양이 사진을 보여주세요</p>
    <p>업데이트 버튼을 누를 때마다 지웠다 새로 씌여져야 합니다.</p>
    <button onclick="q1()">고양이를 보자</button>
    <div>
        <img id="img-cat" src="https://www.google.com/images/branding/googlelogo/1x/googlelogo_color_272x92dp.png"/>
    </div>
</div>
</body>
</html>
버튼 클릭할 때마다 사진이 바뀐다.

'웹' 카테고리의 다른 글
| 13. 웹 크롤링 (0) | 2021.09.01 |
|---|---|
| 11. 원페이지 쇼핑페이지에 환율 api 적용 (0) | 2021.08.27 |
| 9. Ajax (0) | 2021.08.25 |
| 8. 포스팅박스 열고 닫는 기능 추가하기 (0) | 2021.08.24 |
| 7. JQuery (0) | 2021.08.23 |


댓글